Create Custom Sharepoint List Using SharePoint Framework Development Model
Create a new SharePoint Framework project
- Open any Windows Powershell/command tool. I prefer to use Powershell.
- Navigate to a folder or create a new folder ex: FrameWorkList.
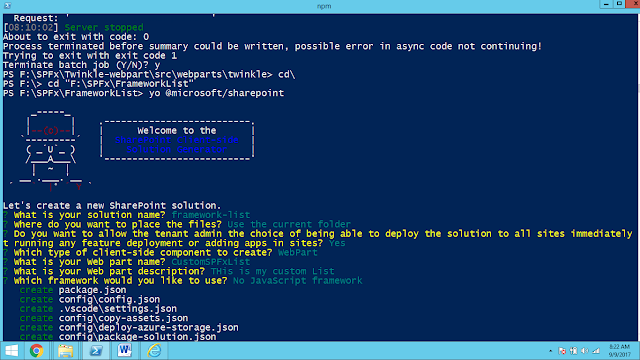
- Run the Yeoman Generator to create SharePoint Framework solution package.
yo @microsoft/sharepoint
Fill the details required for creating a new SharePoint solution and choose Enter.
This will display the prompt, which we must fill up, to proceed with the project creation.
What is your solution name? : framework-list
On pressing enter, we will be asked to chose the working folder for the project.
Where do you want to place your files- Use current folder.
What framework would you like to start with- Select “No javaScript web framework” for the time being, as this is a sample Web part.
What is your Webpart name- CustomSPFxList
What is your Webpart description- We will specify it as ‘This is my Custom List’.
Yeoman has started working on the scaffolding of the project. It will install the required dependencies and scaffold the solution files for the CustomSPFxList webpart which will take some time to complete. Once completed, we will get a successful message.
In the console, go to the \src\webparts\customSpFxList directory.
Enter the following command to open the web part project in Visual Studio Code (or use your favorite editor): CODE
Enter the following command to open the web part project in Visual Studio Code (or use your favorite editor): CODE
Create folder named ‘CustomSPList’ by clicking on the New Folder Icon on left side. Within the CustomSPList folder lets add another sub folder named Assets. In the Assets folder create xml file name it as elements.xml which hold the information to provision the SP List.
Under CustomSPList/assets folder, add or modify the list instance definition file (elements.xml) with the necessary basic information like
- Title.
- FeatureId (Base feature ID of the generic list or any other list).
- Description.
- Template type (Base template type ID of generic list or any other list).
- URL.
- Schema File URL.
Add the below list information to the elements.xml file which contains the list name and type. The feature Id ‘00bfea71-de22-43b2-a848-c05709900100’ refers to custom list.
<?xml version="1.0" encoding="utf-8"?>
<Elements xmlns="http://schemas.microsoft.com/sharepoint/">
<ListInstance
CustomSchema="schema.xml"
FeatureId="00bfea71-de22-43b2-a848-c05709900100"
Title="CustomSPFxList"
Description="This is SharePoint Custom List"
TemplateType="100"
Url="Lists/CustomSPFxList">
</ListInstance>
</Elements>
Package and Deploy the Solution
Now let’s create the deployment package by running gulp package-solution --ship command.This will create the .sppkg package in the solutions folder as shown below.
Copy the sppkg file url by opening it in File Explorer and upload this package to the App Catalog.
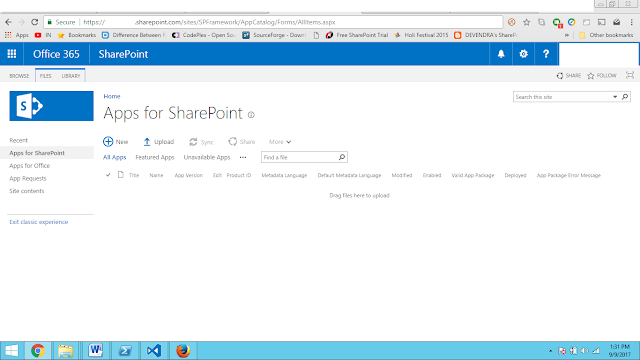
Browse to your App Catalog site and upload the package.
After upload, it will ask if we trust the package. Click on Deploy to add the solution.
we can see the newly uploaded solution in the site contents.
Click on it to add the solution to the site.
It will
add the solution to the site contents. At the same time, it will
provision custom list with the name ‘CustomSPFxList’. We can see it from
the Site contents as shown below.


Comments
Post a Comment